The tier list is one of the most useful tools in Steal a Brainrot — but it is also one of the most misunderstood. Players often treat tier as a synonym for rarity, which is not the full picture. This guide explains exactly what each tier means, how the rankings are determined, and how to use the tier list as a trading advantage.
What Is the Tier List?
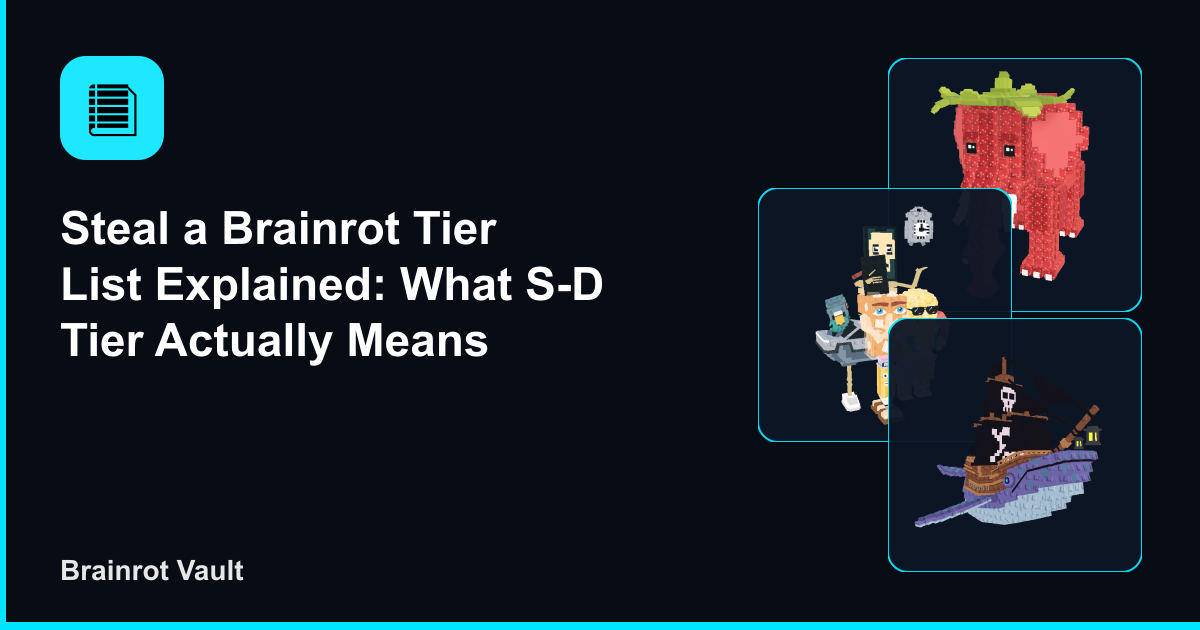
The tier list ranks every item in Steal a Brainrot on a scale from S (best) to D (starter). The ranking is determined by a combination of two factors: the item's current community trade value and its demand level. High value + high demand = higher tier. Low value + low demand = lower tier.
This means the tier list is a snapshot of the community's current opinion on each item. It changes as the meta shifts — new items released, code rewards, and trading trends all influence where items land.
→ View the Current Tier ListS Tier — Best in Game
S-tier items are the cream of the crop. They combine the highest values with strong community demand. If you own an S-tier item, you are in a strong trading position — almost everyone is willing to trade for one, and you can often use that desirability to negotiate favorable deals.
Getting to S tier is the long-term goal for most serious players. The path there involves consistent trading, careful value management, and patience.
A Tier — Excellent Value
A-tier items are excellent. They are not quite at the pinnacle but they are in high demand and carry significant value. For most mid-game players, A-tier items represent the realistic upper range of what their portfolio can achieve.
B Tier — Solid Mid-Range
B-tier items are reliable workhorses. They have decent value and acceptable demand. When building up from lower tiers, B-tier items are often the target of a major trade milestone.
C Tier — Below Average
C-tier items are below average in the community's view. Their values are lower and demand is weaker. They are still useful — particularly for building trade bundles — but you should not hold C-tier items long-term if you want to grow your portfolio.
D Tier — Starter Items
D-tier items are typically where every player starts. Low value, minimal demand, but still part of the economy. They are most useful when combined in volume to trade toward something higher.
Tier Ranking vs. Item Rarity — The Difference
It is a common mistake to assume tier = rarity. A Legendary-rarity item does not automatically land in S or A tier. If the community does not value it highly or rarely trades for it, it may sit in C or even D tier.
Conversely, some lower-rarity items with extremely high demand can punch above their rarity in the tier rankings. The tier list reflects actual community trading behavior, not just the rarity label.
How to Use the Tier List in Your Trades
- When evaluating a trade, check both the item's value and its tier position — high-tier items are easier to re-trade later.
- Prefer high-tier items on your side of any deal, even at slightly lower raw value, because they are more liquid.
- Watch for tier changes after game updates. When the developers release new items or adjust drop rates, existing item tiers can shift significantly.
- Use the tier list as a conversation tool — it is a shared reference point that other players also know, which helps in negotiations.